#8 Footers and Foundation
- angelaglong
- Apr 29
- 2 min read

Once the lower level was excavated, the Zimmerman mason crew moved in to prepare the footers. Jamie Zimmerman dug the three‑foot trenches along the back of the house and the garage side while the rest of the crew assembled the Form‑A‑Drain system. Instead of traditional wood forms and separate drainpipe, these slotted plastic forms handle both shaping the footers and directing groundwater and radon away from the house. By noon the trenches were dug, the forms were set, the rebar was in place, and the inspector signed off. A few truckloads of concrete later, the footers were poured.
Jamie told us the crew would return first thing in the morning to set the wall forms, which meant we needed to apply the waterproofing capillary break that evening. Craig had researched the elastomeric membrane and wanted it in place before the walls went up to keep moisture from wicking into the basement over time. So, with paint rollers and fading daylight, we worked our way around the perimeter—starting at the garage and meeting at the future walkout doors. Craig had calculated four buckets; we used two. Whether the extra was meant for a second coat or simply optimism, we were satisfied with the coverage.

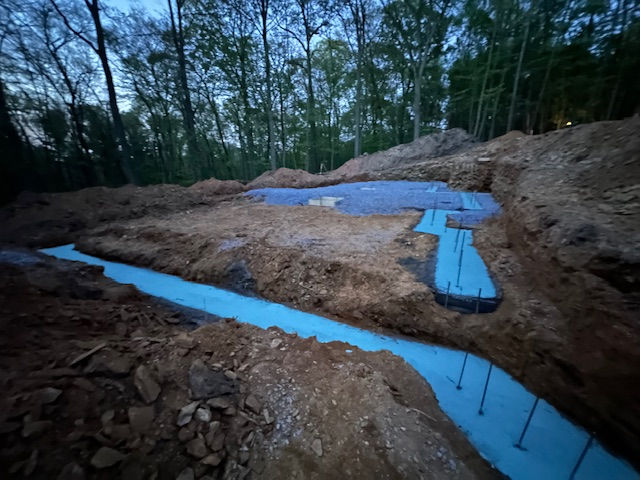
By the time we arrived the next morning, the crew was already setting the ten‑foot wall forms. Our plans call for a 9'4" wall, which will give us a true nine‑foot basement once the slab is poured. When we returned later that afternoon, the forms were fully erected and five concrete trucks had come and gone. The next morning the forms came off, revealing a clean, straight set of basement walls.


We walked the perimeter, noting the openings for groundwater drainage, the sewage line, the well line, and the basement window. Inside, the footings for the steel beam posts were already in place.
Before the next phase, Craig wanted to seal the cold joint where the walls meet the footers. Because they were poured at different times, that seam can be a path for water. A bead of structural adhesive and sealant along the entire intersection will close that gap and give the lower level one more layer of protection. The next day, the entire foundation was waterproofed.


Comments