top of page

Building a Legacy Timber Frame Home

#13 Framing, Roof, and Sheathing

angelaglong
6 days ago
2 min read

Setting the roof trusses on the load-bearing walls.

So what's been happening for the past six weeks since the timber framing? A whole lot! This is when our builder, Hess Homes started shaping the timber frame structure into a home!

Owner Randy Hess assigned Phil S. to be our project manager.  He makes sure the right crews are doing the right thing every day at our job site.
Owner Randy Hess assigned Phil S. to be our project manager. He makes sure the right crews are doing the right thing every day at our job site.
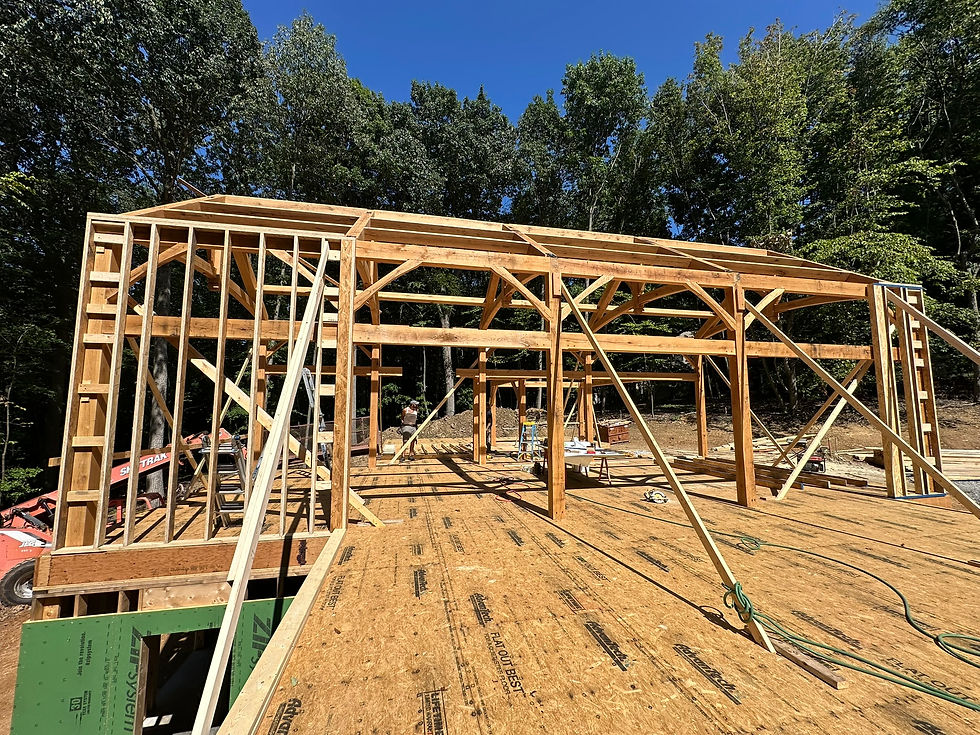
First the load-bearing walls were framed around the timber frame.
Then the roof trusses were brought in.
More roof trusses.
More roof trusses.
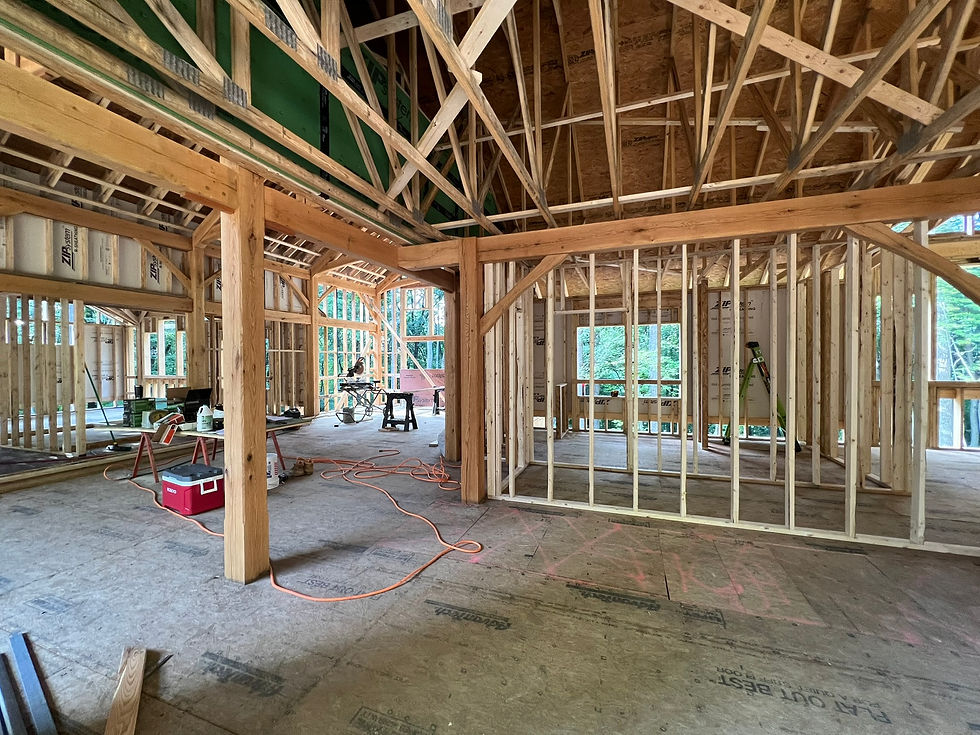
A view of the roof trusses from the inside of the kitchen area.
The roof sheathing is applied to the roof.  Note the large overhang at the front of the house.  That is where an exterior decorative arch chord king post truss will go!
The roof sheathing is applied to the roof. Note the large overhang at the front of the house. That is where an exterior decorative arch chord king post truss will go!
A view of the roof trusses with the exterior sheathing from the great room.
Then the "wings" of the house, the non-timber framed parts of the house, were framed, including roof trusses.  This is looking toward the west side of the house.
Then the "wings" of the house, the non-timber framed parts of the house, were framed, including roof trusses. This is looking toward the west side of the house.
This is the foyer where there will be a staircase coming up from the lower level.
This is the framing for our fireplace, which will have a Hearthstone Heritage model soapstone wood burning stove.
After all the framing is done, the exterior Zip R sheathing was applied.  Rip R sheathing has an integrated water-resistant barrier, with an inch of polystyrene, resulting in an R-6 value.  This is the back of the house with a view of the garage on the west side of the house.
After all the framing is done, the exterior Zip R sheathing was applied. Rip R sheathing has an integrated water-resistant barrier, with an inch of polystyrene, resulting in an R-6 value. This is the back of the house with a view of the garage on the west side of the house.
This is the front of the house with the Zip-R sheathing.  Note that the gables in the front of the house and the front porch are ready for the exterior timber framed features.
This is the front of the house with the Zip-R sheathing. Note that the gables in the front of the house and the front porch are ready for the exterior timber framed features.
Front of the house, Zip R sheathing installed.  The siding when it's installed, will be "Smoky Ash" (gray) in color.
Front of the house, Zip R sheathing installed. The siding when it's installed, will be "Smoky Ash" (gray) in color.
Rear of the house, west side, with Zip R sheathing.
Rear of the house, east side, with Zip R sheathing installed.


Comments


bottom of page